We may earn money from the companies or products mentioned in this post.
Home Canned Pears Tips
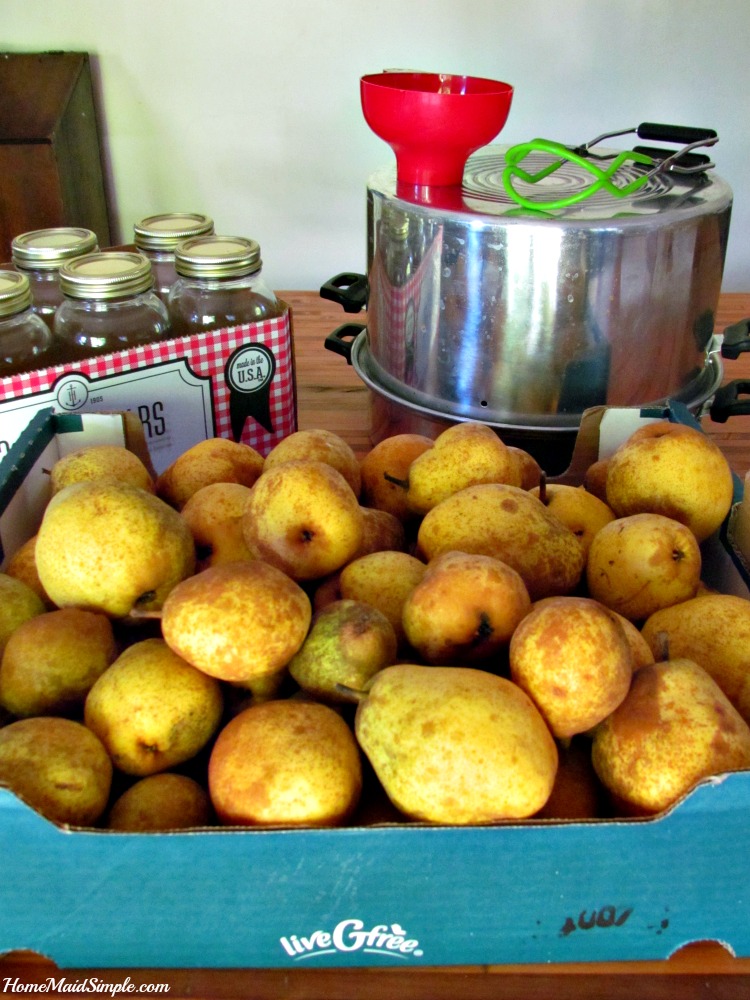
- 40lbs Pears
- 7-8 Quart canning jars and lids
- paring knife
- water bath canner
- Jar lifter
- wide mouth funnel
- sugar
- water
Once you have everything ready, you’ll want to prepare your syrup. I like to use a light syrup because quite frankly I have a sweet tooth. However, you can also can the pears in fruit juice. If you choose the juice method I would stick with 100% Pear Juice.
For this many pears, I make a double batch of syrup. Heat 18cups water and 4 1/2 cups sugar on the stove. Depending on your pot, you may need to do this in 2 batches.
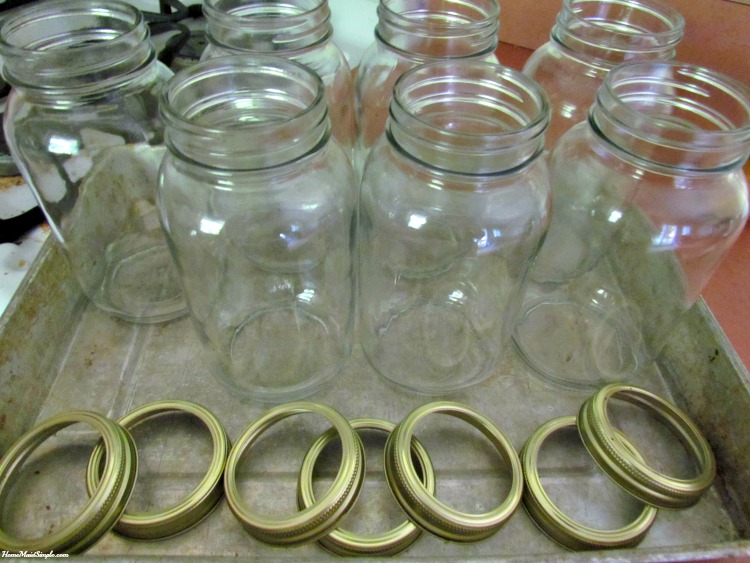
While the syrup is heating, go ahead and prepare the jars. You’ll want them washed and sanitized. To sanitize my jars, I prefer using the oven. Set it to 250 F. Place the jars and rings – not the rubber lids – in a pan and set in the oven. They need at least 20 minutes in the oven, but you can leave them longer as you prepare the fruit.
The prep work is done, and it’s time to get started on the pears. You’ll want to wash, peel, and core your fruit. My favorite way to get the most fruit, is by blanching the pears in boiling water for about 30seconds to 1 minute, then dipping them in an ice bath. The peels come off fairly easily at this point with a paring knife. The downside is that the pears get a bit more soft from the boiling water. So you can always just take a knife and peel and core your pears as if you were going to eat them right then.
Once the pears are peeled, and sliced place them in a bowl with some lemon juice to avoid browning. Pick Your Own has some more tips on keeping the fruit from browning while preparing the rest of the fruit. This is the point where it’s also nice to have someone helping. The more hands, the less time the fruit it sitting out and turning brown.
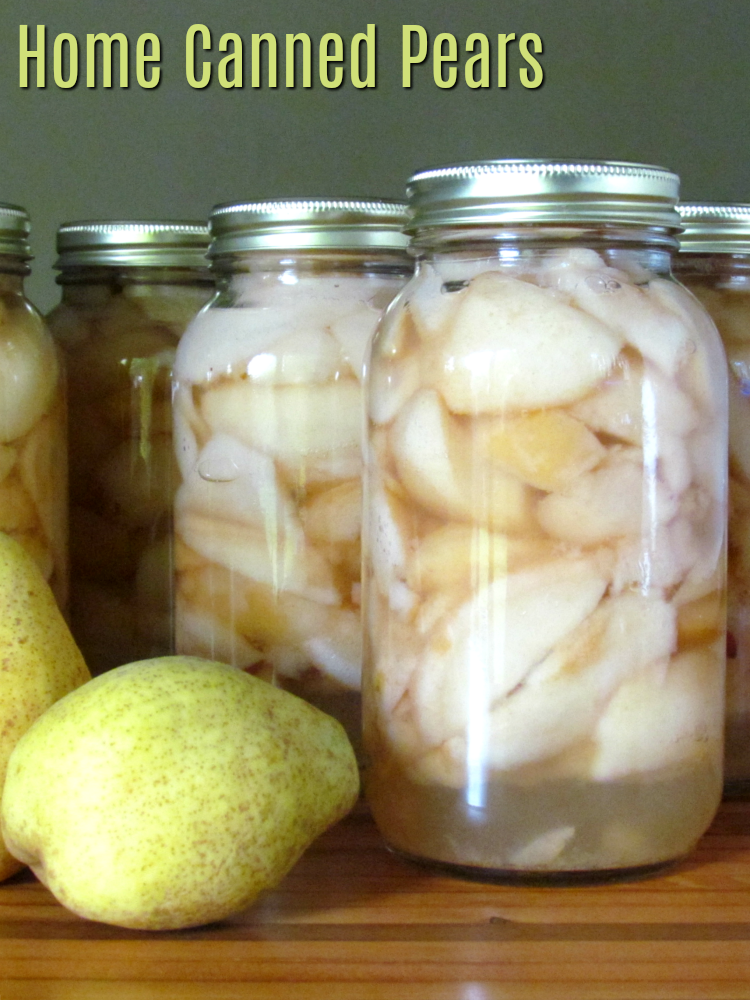
Now I dry pack my pears, but you can also hot pack them which is the recommended way. To dry pack – also known as raw pack – you stuff the cold pears into the hot jars. Once they are full pour in your syrup leaving about a 1/2 inch at the top. Slide a butter knife down the side of the jar and press on the pears to release any trapped air. I’ve always done it this way and never had any issues with spoilage.
Boil a small pot of water for your canning lids. Once the pears and syrup are in the jar, wipe off the rims with a clean damp cloth. Then you’ll dip the lid into the hot water before placing on the jar. Screw on the rings, finger tight, and prepare to process them.
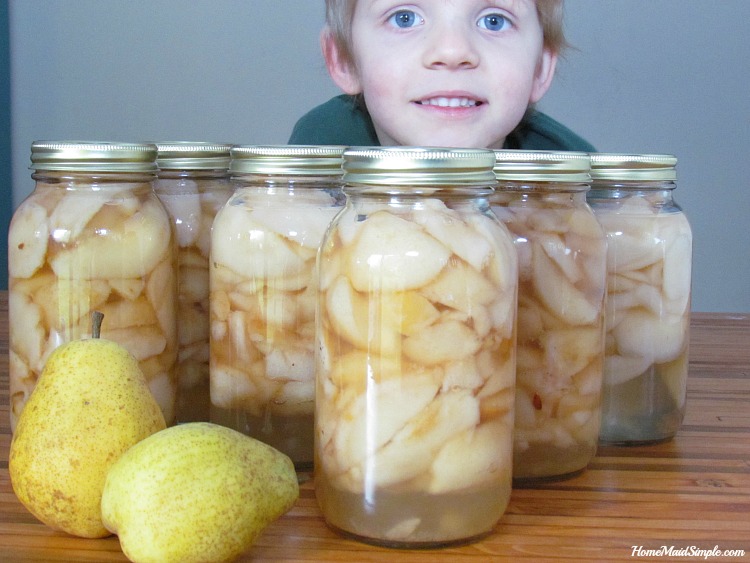
Canned Pears packed in quart should be processed in a water bath canner for 25 minutes. When done, remove the jars from the canner with your nifty jar grabber, and place on a towel to cool. You may start hearing popping sounds – this is the sweet sweet sound of each jar sealing. Give them a day to cool, then press on the lids. If they did not seal there will be a little bubble you can press on. Any unsealed jars should be immediately placed in the fridge and used over the next few days.
Correctly sealed jars can be placed in your pantry or food storage and should be used over the next year.


- 40lbs Pears
- 18 cups Water
- 4 1/2 cups Sugar
- 8 quart jars and lids
- water bath canner
- Preheat oven to 250F.
- Place jars and rings (not lids) on a pan, and sanitize in oven for 20 minutes.
- Combine water and sugar in a pan over medium heat to dissolve sugar. Turn heat to low and let simmer while you prepare the pears.
- Wash, peel, and core pears.
- Stuff pears into hot jars. Pour hot syrup over pears, leaving 1/2 inch from the jar rim.
- Wipe rims with a clean damp cloth.
- Dip lids into boiling water, and then place on jars.
- Screw rings on to finger tightness.
- Process in a water bath canner for 25 minutes.
- Remove to a towel, and let cool for 24 hours.
- Store sealed jars in a cool dark place. Unsealed jars should be eaten withint the next few days.
Kids love these! While they will keep for a year in the pantry, my kids usually have them gone within 2 months.


Oh, this is very informative, thanks for sharing this article with us
Top home,Products,Buyer ‘s oven set Absolutely love my new oven set from [Brand]! It heats up quickly and cooks evenly. The sleek design is a perfect fit for my kitchen. Highly recommend!